Tuesday, July 23, 2013

Buon Appetito: Eating and Cooking through Rome and Florence

Ciao!

Mom and I just got back from a trip to Italy, and I am already planning my next trip back. This was my first time in Italy, so we just hit up the biggies: Rome and Florence. I loved them both, for different reasons, and would return in a heartbeat... If only I could afford it!

If you must know, I am guilty of taking pictures of pretty much every item of food that I consumed, but since stuff like that is documented far and wide across the Internet, I thought I'd just write a short post about one of the most fun activities we did on the trip: a cooking class in Florence at Giglio Cooking School. Marcella, the woman who runs this school, is a treasure -- she's knowledgable, patient, and refreshingly laid back.

We made spinach ravioli stuffed with asparagus and scampi, truffle risotto, and a pine nut cake. My hands were dirty with pasta dough, shrimp, and cake batter for most of the evening, so I don't have pictures of everything, but here is one of my favorites.
I had never made pasta from scratch, and I got a kick out of the fact that you don't need any sort of bowl -- you just make a bowl out of flour and dump the egg right in the middle! 

We also made black truffle risotto, but unfortunately, I don't have any pictures of that dish. You'll have to take my word that it was rich and utterly delicious. Definitely not for the everyday mean, but a decadent, savory treat to be sure. 

For dessert, we baked pine nut cake with red wine caramel sauce. AMAZING. I've actually never made caramel sauce either, because caramel is usually too sweet for my tastes. On the contrary, this sauce was absolutely divine -- with all of the alcohol burned off, you could savor the flavor of the wine grapes. It almost tasted berry-like, but without all those pesky seeds! I know I'll make this again.

At the end of the night, Marcella sent us home with half of the leftover cake (which I kept eating for days), and two jars of fig jam and honey, which came from her friend Max's farm in the countryside. How thoughtful! I would recommend Giglio Cooking School and Marcella to anyone traveling through Florence. The evening was one of the highlights of my trip!


Friday, July 5, 2013

Unfinished Business: Homemade Blueberry Pop Tarts

Sigh... I don't know how this happened. I'm usually pretty good about remembering to take pictures of final products, but somehow this time it completely slipped my mind. They were really tasty, though, so I felt like sharing the pictures anyway, however incomplete the story may be...

There is a story behind these blueberry pop tarts, by the way, and the story goes something like this.

Sara walked into her favorite natural grocery store, which starts with a "W" and ends with "oods", and discovered that organic blueberries were $1.99 per pint, one day only. So pleased with this fortuitous discovery, Sara placed two boxes in her basket. 

She then proceeded to pick up a few other items -- celery, baby carrots, tofu -- but she couldn't shake the nagging sense that she had bypassed a real gem of an opportunity. She went back and picked up another box of blueberries. Now, to the butcher for some bone-in chicken breasts! 

Ah, but the berries called her again. After all, Sara had been known to eat a whole pint of blues in one sitting, so there was simply no way that three boxes would suffice. Two more, into the fray.

And that, my dear friends, is how I ended up with five pints of blueberries. You can't possibly imagine my delight. I even went so far as to text Dad to tell him about my great steal -- he went to WF the same day, up in Northern California, and bought three boxes for himself. Like father, like daughter.

Now, if I'm being perfectly honest (which I always am on this blog), I ate 3.5 of the boxes straight up. But I saved some for these pop tarts, because blueberry pie is my #1 all-time favorite, and these are just like handheld pies. I've detailed the pop tarts recipe at length on this blog, so I won't go into that, but suffice it to say that blueberries + sugar + lemon zest + pastry = the pinnacle of happiness.


Saturday, June 1, 2013

Baked Powdered Sugar Donuts

Holy cow, it is June 1st! 

The last few months have really flown by, and now I'm just a few weeks away from graduating and packing my bags to head back north. I have to say, I was skeptical when I moved here, but Southern California has really treated me well. There is something to be said for the impact that sunny day after sunny day can have on your overall mood.

I haven't blogged for several months, but I have baked a few times since my last post. I wasn't so happy with the results of my last few projects, so I didn't feel like sharing those recipes. I get discouraged when recipes don't turn out well, but I think I need to change my mindset. Sometimes you'll get it right, and sometimes things will just flop. Luckily, baking is one of the very few things in life where you can simply throw away the mistakes and move on, no hard feelings whatsoever.

I woke up this morning with a hankering, and I've been wanting to try this recipe for baked donuts that I saw on... YouTube! I've been wasting tons of time on YouTube lately, mostly watching tutorials. I came across this video on baked donuts over a week ago, and have had the tab open on my computer since then, so I would remember to try making them. I finally got to it this morning, and I was really happy with the results. Really, really happy.
I've tried making baked donuts several times now, and I think these are my favorites so far. The outside was *just* crispy, and the inside was dense enough to remind me of a real, deep-fried cake donut. Sigh. Those are the best. Anyway, here's the recipe.

Baked Powdered Sugar Donuts
1/2 cup sugar
1/2 cup butter
1/2 tsp vanilla extract
2 tsp baking powder
1 whole egg
1 1/2 cup all purpose flour
Pinch of salt
1/2 cup milk
1/2 cup powdered sugar (to coat doughnuts)

Preheat oven to 350 degrees.

Cream butter and sugar on low speed. Add vanilla, egg and baking powder. Mix until thoroughly combined. Turn off mixer and add flour 1/2 cup at a time, mixing each addition completely. Add salt and milk, mix to combine. 

Using a piping bag, fill donut pan with batter. Bake for 13 minutes. 

Cool donuts in the pan, then turn upside down to remove donuts. Cool completely, then coat in powdered sugar.


Thursday, March 7, 2013

Time out for Savory: Chipotle Chili

I just looked back at my last post and realized that after posting twice in one week, I went MIA for over 2 months. Woops! To be perfectly honest, I don't know how I managed to go that long without baking anything, but it could be because I ran out of eggs... two months ago.

Anyway, onwards and upwards!

Today's post isn't actually about baking, but it does come with tons of pictures, so hopefully those will provide adequate compensation for the lack of sugar and butter. This year I entered my school's annual chili cook-off, and it ended up being a really fun process, so I thought I'd share it with the two people who still care what I have to say here.

Let me start by revealing that I've actually never made chili start-to-finish by myself. I've watched Dad make it few times (as well as countless stews, which I think share some common traits), and I picked up several tips over the years, but I've never flown solo. As such, I began the project by reading tons and tons of recipes. I should have known that this would be overwhelming, because there are as many ideas for what constitutes the "perfect" chili as there are people in the world. And making chili comes with all sorts of mind-bending decisions, such as beans vs. no beans, ground beef vs. chunks, tomatoes vs. sans tomatoes, and don't even get me started on all the combinations of chiles...

Needless to say, I spent several hours reading recipes, but nothing I found was quite perfect. The recipe I finally executed is loosely based on this version from America's Test Kitchen, but also on several IM conversations with Dad, as well as my own preferences.

Here is the result, in all of its ungarnished, beefy glory. What do you think? Am I going to win the competition?

Just in case I do win, here's the recipe for my (possibly) award-winning chili!

Sara's Chipotle Chili

3 T kosher salt
1/2 lb. dried pinto beans
4 quarts water
1.5 T chili powder
1 T dried chipotle chili powder
1/4 t dried cayenne pepper
3 T cornmeal
2 t dried oregano
2 t ground cumin
2 t cocoa powder
2 1/2 c low-sodium chicken broth
2 c onions, chopped in large chunks
1 large jalepeno pepper, rough chopped in large pieces
2 T vegetable oil
4 t garlic, finely chopped
1 can of diced tomatoes, 14.5 oz
2 T brown sugar
4 lbs beef chuck steaks
12 oz. Newcastle ale

1. Wash pinto beans and pour into 4.5q Dutch oven. Add salt and water. Bring to a boil, then remove from heat, cover, and let sit for 1 hour. Drain and rinse with cold water.

2. In a food processor, blend chili powder, chipotle powder, cayenne, cornmeal, oregano, cumin, and cocoa powder. Shouldn't take more than 1 or 2 quick pulses. Turn on the food processor, and slowly pour 1/2 cup of chicken broth into the bowl until it becomes a paste. Pour paste out into a small bowl.

3. Put chopped onions into food processor and pulse four times. Add chopped jalepeno and pulse three or four more times. In a small bowl, dissolve brown sugar in a few spoons of warm water.

4. Heat 1T oil in Dutch oven over medium-high heat. Add onion and jalepeno mixture, and saute until onions are soft and moisture has evaporated. Add garlic, and saute until fragrant. Add the chili paste, tomatoes and brown sugar liquid, and stir until combined. Add remaining two cups of chicken broth and reduce heat to simmer.

5. Preheat oven to 300 degrees. In a skillet, heat 1T oil over medium-high heat. Pat beef chunks with a paper towel, then sprinkle lightly with salt. Add 1/2 beef to skillet and brown on all sides. Transfer beef to Dutch oven. Pour 1/2 beer into the skillet to deglaze pan, and simmer for a few minutes, stirring to remove browned bits from the bottom of the pan. Transfer beer to Dutch oven. Repeat with remaining beef and beer. Return to simmer.

6. Cover pot and place in oven for 1.5 to 2 hours, or until beef and beans are tender and cooked through. Chill, uncovered, for 10 minutes, and season to taste.


Friday, December 14, 2012

Raspberry-Chocolate Crumb Bars

What's this? Two blog posts in one week? By golly, it is a Christmas miracle!

In my last post, I mentioned putting off a take-home final to bake some special shortbread cookies. Now that I'm done with school, I am back to tell you all about these special treats!

First, a short story. A few weeks ago, my good friend from school called me up on a rainy Saturday and asked if I was home. "Uh, yes." I don't leave my house when it's raining unless it's absolutely imperative. "Great. I'm coming over. I have something for you," she said. Oh my gosh, the anticipation nearly killed me. Turns out she went to Surfas, a cooking and restaurant supply store in Culver City, and had a bag of edibles just for me! It's a testament to how well CK knows me that among the goodies she picked out were a pound of Plugra butter and these milk chocolate disks.
So, when I decided to bake something earlier this week, I decided to make something that would put that butter and chocolate to good use. I found the recipe for these bar cookies in the Flour Bakery Cookbook, and although the original recipe includes just raspberry filling, I felt confident that chocolate would be a welcome addition. It's very nearly impossible to go wrong with raspberry and chocolate, don't you think?
I really loved these cookies, but I also consider shortbread my Achilles heel. When I lived in Japan, the snack kitchen stocked these Walker's Shortbread Finger Cookies, which are about as close as you can get to eating a stick of butter without people giving you a funny look. I was so addicted to these that one time I opened a packet of cookies at my desk with such vigor that a waterfall of crumbs spilled all over my laptop keyboard. I'm not sure I should have admitted that publicly, but there you go.

Anyway, back to the task at hand... I also found the recipe intriguing, because the crumble topping is achieved by freezing a portion of shortbread dough, grating it using a cheese grater, and sprinkling it on top of the filling layer. I've never seen a crumble top like this, so naturally, I had to try it. 

This whole exercise required some patience, but I think the results were worth the effort. I'm even thinking of making these again when I get home, because I think they're great holiday cookies.

Also, this recipe requires trimming the browned edges of shortbread once it is entirely baked.  You can bet that I nibbled on these bits over the course of the night. If you even try to tell me you wouldn't do the same, I don't think we can be friends anymore.


Raspberry-Chocolate Crumb Bars, adapted from the Flour Bakery Cookbook

1 1/2 cups unsalted butter
1/2 cup granulated sugar
3 tablespoons confectioners' sugar
2 egg yolks
1 teaspoon vanilla extract
1 1/4 cups unbleached all-purpose flour
1 1/2 cups cake flour
3/4 teaspoon baking powder
3/4 teaspoon kosher salt
1/1/2 cups raspberry jam (with seeds)
3 tablespoons half-and-half
1/2 cup chocolate chips
1/4 cup confectioners' sugar (for dusting)

To make shortbread: 

Cream together the butter, granulated sugar, and confectioners' sugar until the mixture is light and fluffy. 

Beat in the egg yolks and vanilla on medium speed for 2 to 3 minutes, or until thoroughly combined.

In a medium bowl, sift together the all-purpose flour, cake flour, baking powder, and salt. Gradually add the flour mixture to the butter-sugar mixture and then mix until the flour mixture is totally incorporated and the tough is evenly mixed.

Scrape the dough onto a sheet of plastic wrap. Remove one-fourth of the dough to a separate sheet of plastic wrap. Wrap the remaining three-fourths of the dough entirely in the plastic wrap, pressing down to form a disk about 8 inches in diameter and 1 inch thick. Refrigerate the dough disk for about 30 minutes, or until the dough has firmed up but is still somewhat pliable. Pat the reserved one-fourth of the dough into a small disk, wrap in plastic wrap, and place in the freezer for at least 2 hours, or until hard.

In a small sauce pan, melt the chocolate chips and mix in the half-and-half until smooth. Set aside to cool.

Heat oven to 350 degrees F.

Lightly flour the 8-inch dough disk and two large sheets of parchment paper. Place the dough between the sheets of parchment, and roll it out into a rectangle about 13 by 9 inches and 1/4 to 1/3 inch thick. Carefully peel off the top sheet of parchment. Trim the edges so the rectangle has fairy neat sides. Transfer the bottom sheet of parchment with the dough to a baking sheet. Trim the parchment so that it fits the baking sheet.

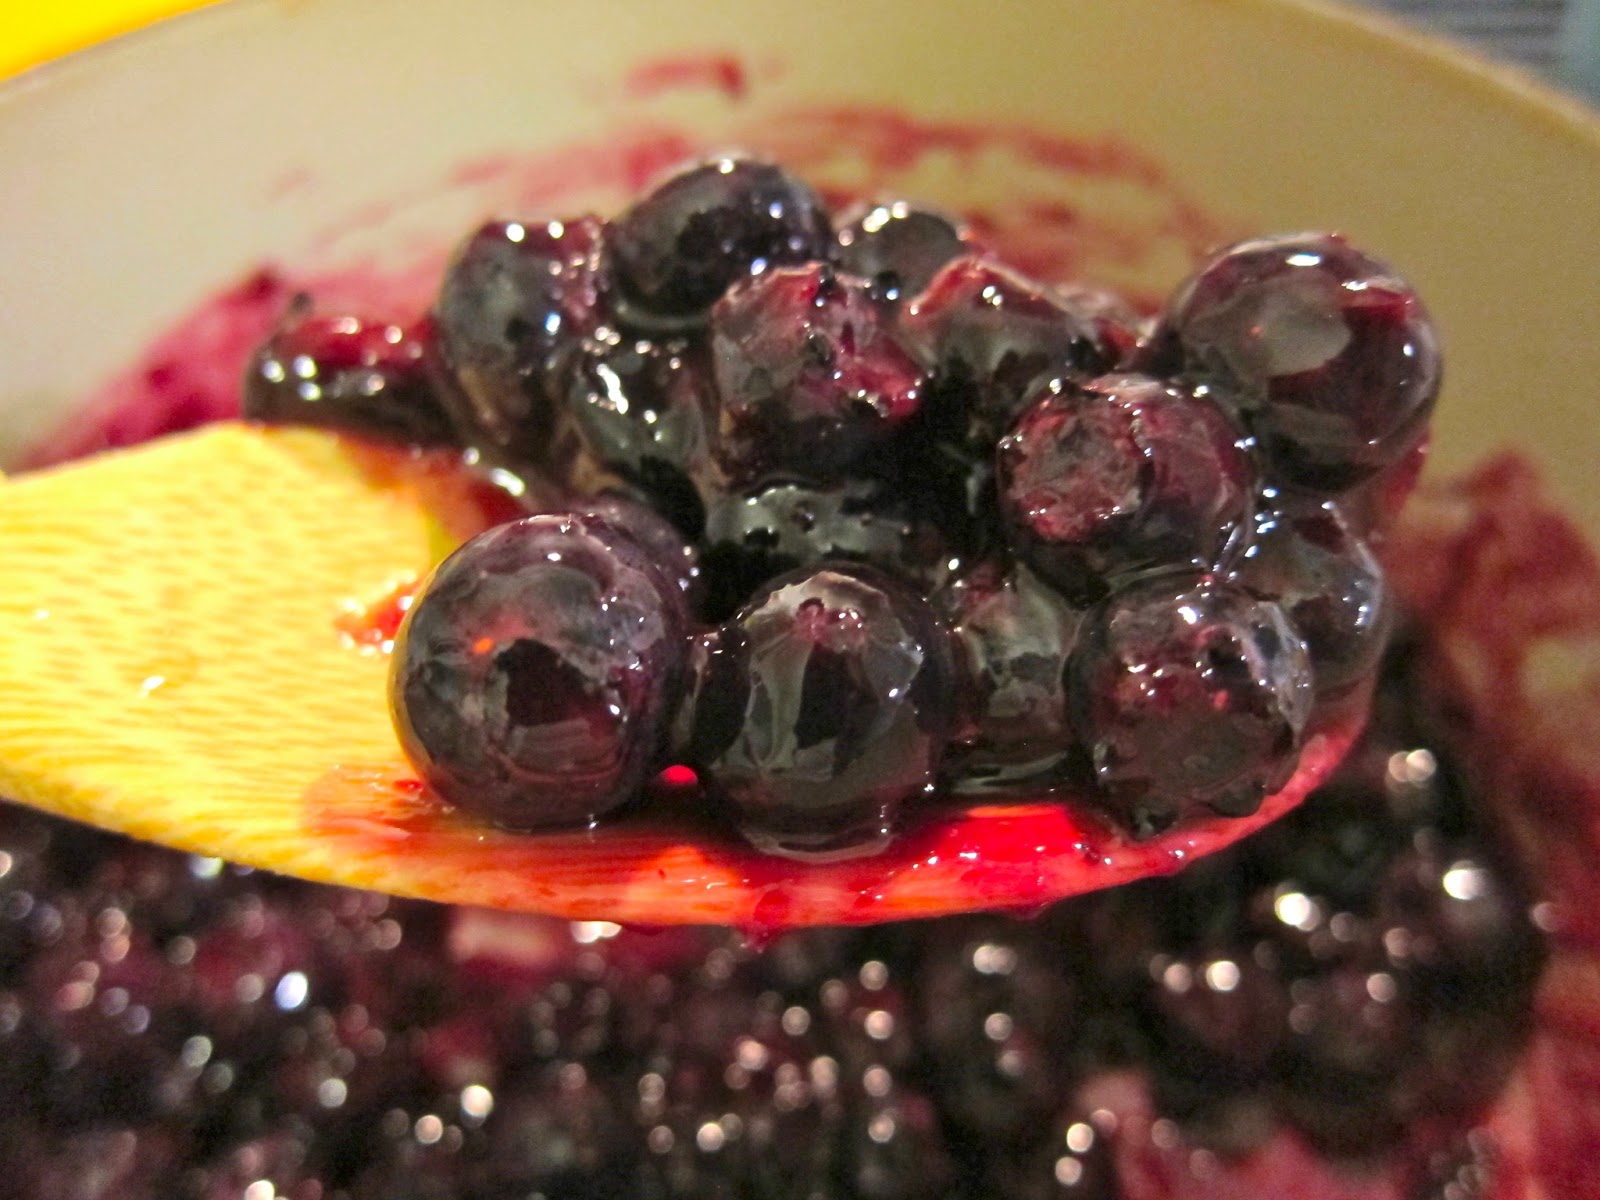
Bake for about 20 minutes, or until the shortbread is light brown. Remove the shortbread from the oven, let cool for 10 to 15 minutes, then spread the melted chocolate on top of the warm shortbread. Add the raspberry jam on top of the chocolate layer, spreading it out evenly.

Remove the smaller dough disk from the freezer, and using the large holes on a box grater, grate it into large flakes. Evenly sprinkle the dough flakes over the jam.

Return the baking sheet to the oven and bake for another 20 to 25 minutes, or until the top is lightly browned. Let cool completely on the baking sheet on a wire rack.

When cooled, sift the confectioners' sugar evenly over the top. Trim the edges again, then cut into bars.

Sunday, December 9, 2012

Thankful for Dutch Apple Pie

I'm painfully close to finishing my last academic obligation of the quarter, so naturally, I am blogging instead of working on that pesky take-home final. I spent the whole day writing a paper for another class, though, so I when I finished, I felt somewhat justified in taking a short respite... 

That was several hours ago, though.  "A short respite" turned into grocery shopping and watching Glee, but then, I have never been good at self-restraint. Perhaps this explains why Fall quarter was not terribly kind to me in terms of free time for baking... But never fear, things are looking up for the Winter!

In any case, along with all the other aforementioned distractions, I decided to throw together a batch of shortbread cookies tonight. ("Just shortbread? Meh." you say? Don't worry, they are much cooler than that. The instructions called for a cheese grater, so something new and unusual is definitely afoot. More on this in my next blog post.) Then I remembered that I forgot to blog about my Thanksgiving baking adventure. 

I usually make pumpkin pie for Thanksgiving (loyal OCB readers will recall the homemade kobucha version from 2011), but this year I decided to go with something that my brother might actually enjoy. Some time ago, my big bro confessed that he doesn't actually like pumpkin pie... The horror! All these years, he'd been quietly suffering, just to be polite. What a guy. All of that nonsense ended this year, however, as I decided to make... Dutch Apple Pie!

How did I arrive at this decision? Some of you may be surprised to learn that it was not until I became a young adult (in age only, of course. I have yet to reach this status in actual maturity.) that I came to understand the wonder and glory of homemade pies. I have always been a fan of buttery-flakey things, but as a kid, my only exposure was through a fellow Sara... Sara Lee, to be precise. Mom always let me pick the frozen pie we'd bake on holidays, and I always, always, always picked Dutch Apple Pie. There is something about those crispy, crumbly bits on top of spiced apples that just takes me to another place. 

I hope my family enjoyed it. They always say they do, but now that I know my brother has been putting up with pumpkin for so many years, I wonder if I can trust any of them anymore... What do you think? (Apologies in advance for the bad pictures -- they're taken from my phone, since I forgot my real camera in LA.)

The recipe I followed was somewhat piecemeal. My go-to pie crust is, as I am sure you know by now, the Flour Bakery pâte brisée. But the filling and crumble top came from this fairly generic, but universally well-rated recipe on Food.com. One small, but significant modification I made was to blind bake the pie crust before filling it with apples. I've gotten into the habit of blind baking, since I discovered that it prevents the dreaded "soggy bottom crust" syndrome. Interestingly, although I don't have any pictures to prove this, I didn't have enough pie weights, so I ended up weighing down the crust with pebbles Mom bought for the bottom of decorative flower vases. I washed them, of course... They actually held up the edges quite well, so I think I'll keep using this technique until Mom decides to dump them into a vase.

Enough rambling. Here's the recipe, for anyone who may be interested.

Dutch Apple Pie, adapted from Food.com and Flour Bakery

Ingredients
1 Pâte Brisée II, recipe here
5 1/2 cups peeled cored sliced cooking apples
1 tablespoon lemon juice
1/2 cup granulated sugar
1/4 cup brown sugar, packed
3 tablespoons flour
1/2 teaspoon ground cinnamon
1/4 teaspoon nutmeg
For the topping
3/4 cup flour
1/4 cup granulated sugar
1/4 cup brown sugar, packed
1/3 cup butter or 1/3 cup margarine, room temperature
Directions:

Prepare pâte brisée for the pie crust. When you are ready to make the pie, blind bake the crust at 375°F for about 20 minutes, or until golden brown. Allow the crust to cool, and continue with apple pie recipe as follows.

1. Preheat oven to 375°F.
2. Fit pie crust into pie plate.
3. In a large bowl, mix sliced apples, lemon juice, both sugars,flour, cinnamon and nutmeg.
4. Pile into crust.
5. Prepare topping:.
6. In a medium bowl, with a pastry blender or a fork, mix flour, both sugars, and butter until coarsely crumbled.
7. Sprinkle evenly over apples.
8. Bake at 375°F for 50 minutes.